PlayOnLinux – Execute aplicações do Windows no Ubuntu
Caso seja um utilizador novo do Ubuntu ou até já com algum tempo de utilização deste Sistema Operativo, de certeza que a certa altura necessitou de utilizar um programa apenas disponível para Windows. Este é um problema recorrente e, por vezes, a solução não é a mais simples. Nesse sentido apresento o PlayOnLinux.
O PlayOnLinux é um derivado do programa Wine, já referido no Ubuntued neste artigo, criado com o objectivo de retirar do utilizador a necessidade de lidar com a complexidade do Wine. Desta maneira poderá instalar os seus programas preferidos em poucos cliques e o PlayOnLinux tratará de todas as configurações e modificações necessárias ao Wine sem que o utilizador sequer note as mudanças.
Mas a principal característica deste programa é a enorme quantidade de programas suportados e todos agrupados numa lista simples de utilizar e verificar. Deste modo o utilizador saberá de antemão se um programa já é, ou não, suportado pelo Wine previamente à instalação.
Instalação
Antes de instalar o PlayOnLinux é recomendável que tenha primeiro instalado a versão mais recente do Wine. Desta forma poupará algum tempo na instalação do PlayOnLinux e como irá instalar a versão mais actual também irá corrigir bastantes erros existentes em versões anteriores.
A instalação da última versão do Wine, tal como apresentada neste artigo, pode ser facilmente efectuada via terminal (Aplicações →Acessórios →Consola) com o seguinte comando:
sudo add-apt-repository ppa:ubuntu-wine/ppa && sudo apt-get update && sudo apt-get install wine1.3

A instalação do PlayOnLinux, para agilizar o processo, também é executada via terminal (Aplicações→Acessórios→Consola) e adicionará ao seu sistema o repositório que lhe permitirá ter o programa sempre na versão mais actual. Primeiro, deve ter em atenção que este método apenas funciona nas versões mais conhecidas e actuais do Ubuntu, portanto, veja se o seu Ubuntu está na lista seguinte:
- Ubuntu 10.10 (Maverick Meerkat)
- Ubuntu 10.04 LTS (Lucid Lynx)
- Ubuntu 9.10 (Karmic Koala)
- Ubuntu 8.04 LTS (Hardy Heron)
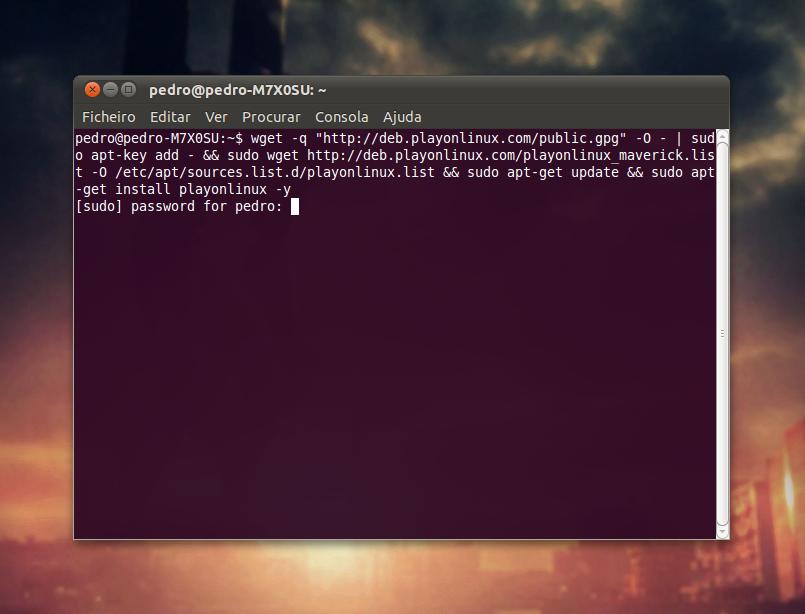
Tendo em conta que o seu Ubuntu é um destes referidos, então, no terminal, escreva o seguinte:
wget -q "http://deb.playonlinux.com/public.gpg" -O - | sudo apt-key add - && sudo wget http://deb.playonlinux.com/playonlinux_$(lsb_release -cs).list -O /etc/apt/sources.list.d/playonlinux.list && sudo apt-get update
Depois do processo de instalação do repositório estar concluído, deverá instalar o PlayOnLinux executando o seguinte comando no terminal ou clicando no botão seguinte:
sudo apt-get install playonlinux

Configuração

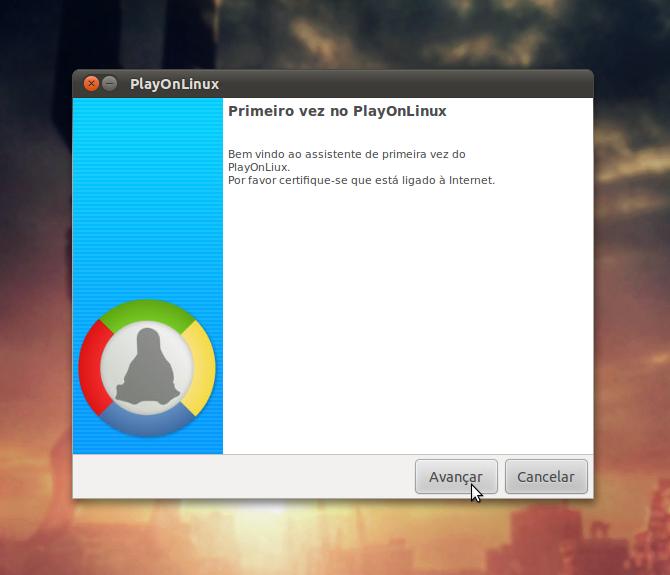
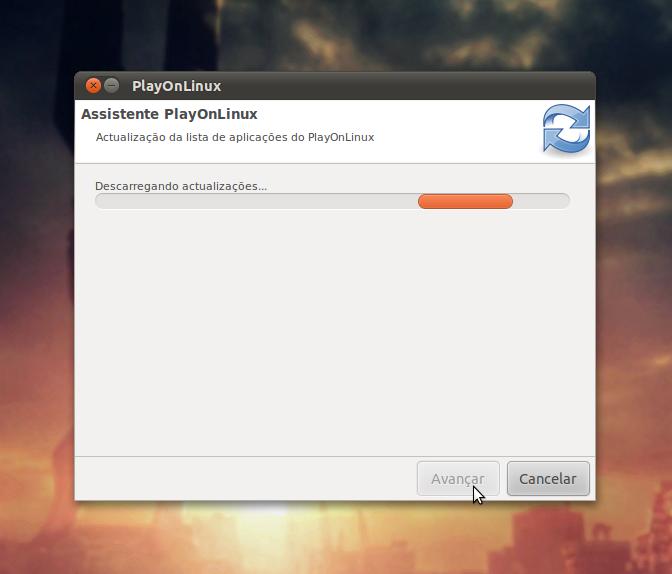
Na primeira vez que iniciar o PlayOnLinux terá de executar alguns passos de forma a configurar o programa. Nas duas primeiras opções que lhe são dadas bastará clicar em avançar, o PlayOnLinux irá procurar na Internet por actualizações e caso seja necessário irá actualizar o programa.

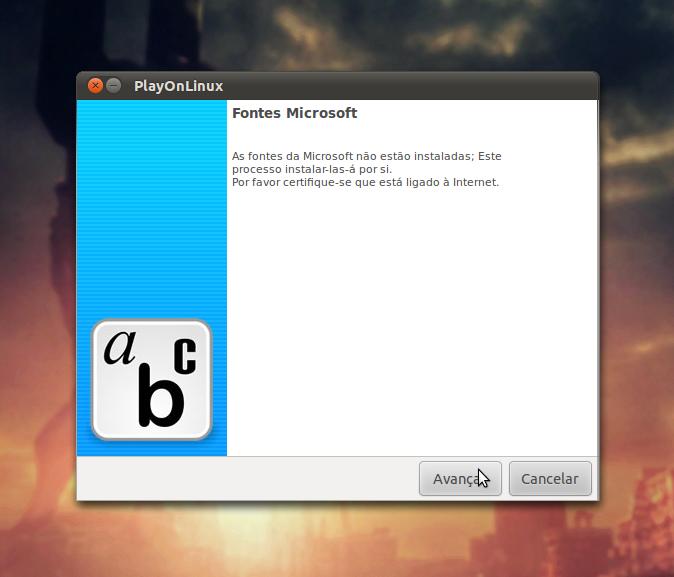
Caso ainda não tenha instalado o tipo de letra utilizado pela Microsoft o PlayOnLinux abrirá uma janela a perguntar se as deseja instalar, recomendo que o faça para um melhor aspecto nas aplicações que instalar futuramente.

Todo o resto da instalação deverá decorrer normalmente e sem mais nenhuma surpresa.
Mais Informação
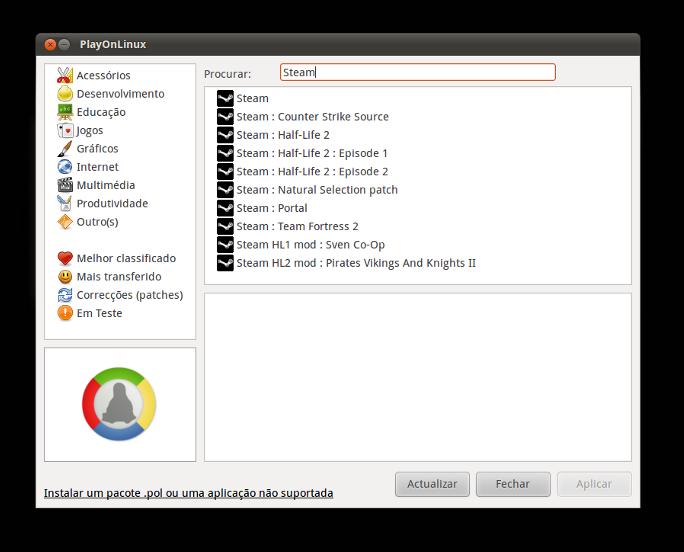
De agora em diante sempre que quiser instalar um aplicativo do Windows no Ubuntu verifique primeiro se está disponível na lista do PlayOnLinux. Para tal, abra o programa (Aplicações→Jogos→PlayOnLinux), seleccione a opção “Instalar” e procure pelo programa que deseja.

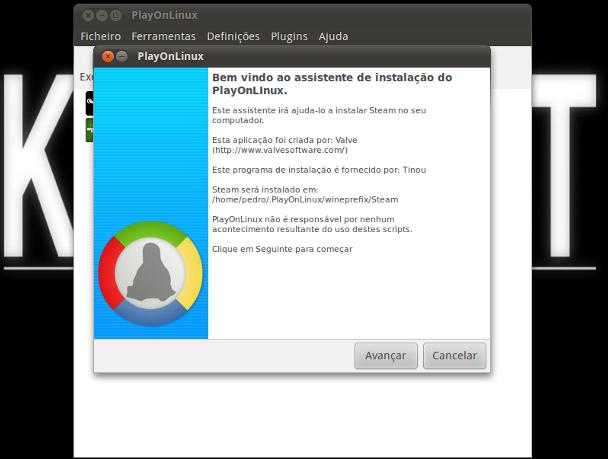
Caso o encontre seleccione-o e clique na opção “Aplicar“. Verá agora o assistente do PlayOnLinux que o ajudará durante a instalação para que o programa fique o mais bem instalado possível.

No final da instalação o programa ficará disponível para execução na janela principal do PlayOnLinux, bastará clicar nele e escolher a opção “Executar” para o utilizar.

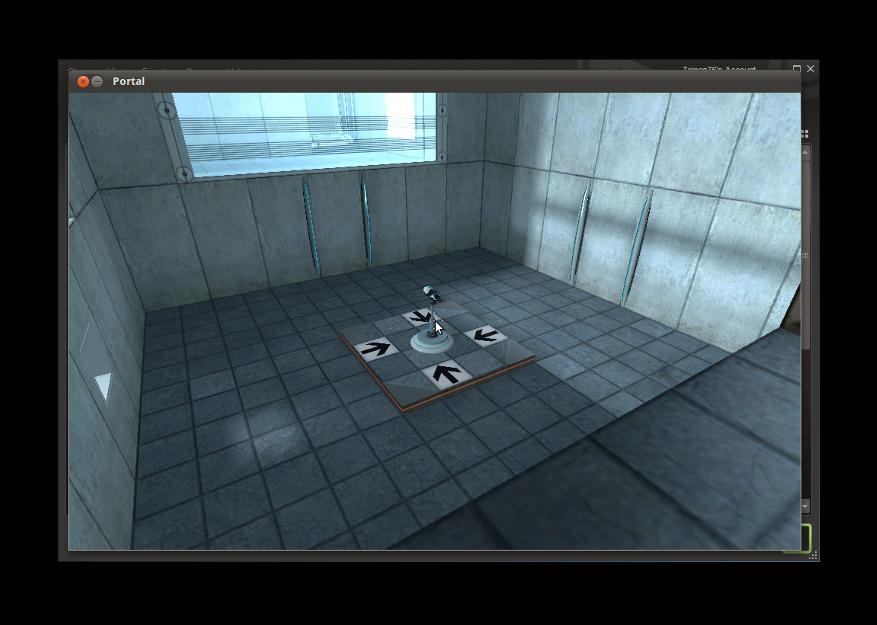
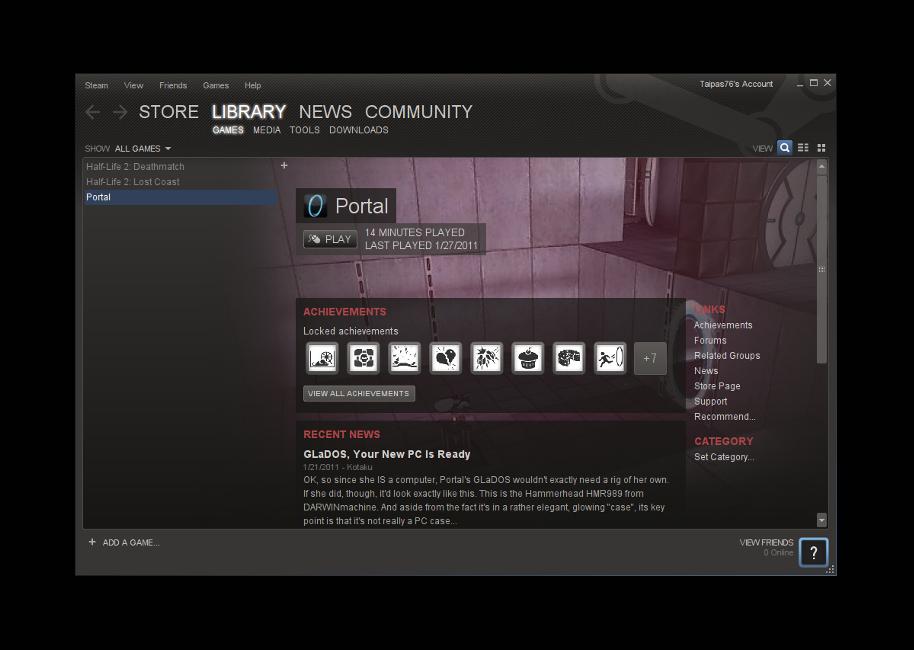
Com o PlayOnLinux testado com sucesso, poderá agora utiliza-lo no caso de querer trabalhar com programas não disponíveis para o Ubuntu, tal como eu utilizei para instalar o Steam. A lista de programas disponíveis aumenta quase diariamente, no caso de não encontrar ainda o programa que pretende, poderá comunicar à equipa do PlayOnLinux no seguinte web site:
PlayOnLinux – Website Oficial